Hi everyone! I am here with my tutorial!:D
If you are recreating this I have two things to say. Here is the picture I used as a guide if you want it for yourself.:)
And next, very important, DRAW VERY LIGHTLY! I didn't draw this perfectly at the beginning, so at the end I had to erase some things.;) So that being said, draw lightly so that no permanent marks mar your finished drawing.:)
(Drawing lightly is something I have yet to master...XD)
Okay, let's start the tutorial!:D
I started off with a light circle for her head. A circle is always a good start for making your head, but make sure it's light because it won't be staying for the finished product.:)
Next I added little bumps for her cheek bones.
Now add downward lines to the bumps that are going inwards slightly for her jaw.
From the ends of those lines I drew the bottom of her jaw and chin, making sure that her chin is round and realistic. If you need a little help, you can look at the picture and use that as a guide.
I used a ruler to make sure her cheekbones and jaw points are straight. Then, also using the ruler, I put a light line down the center of her face to make sure her face stays centered.:)
Here's what it looks like.:)
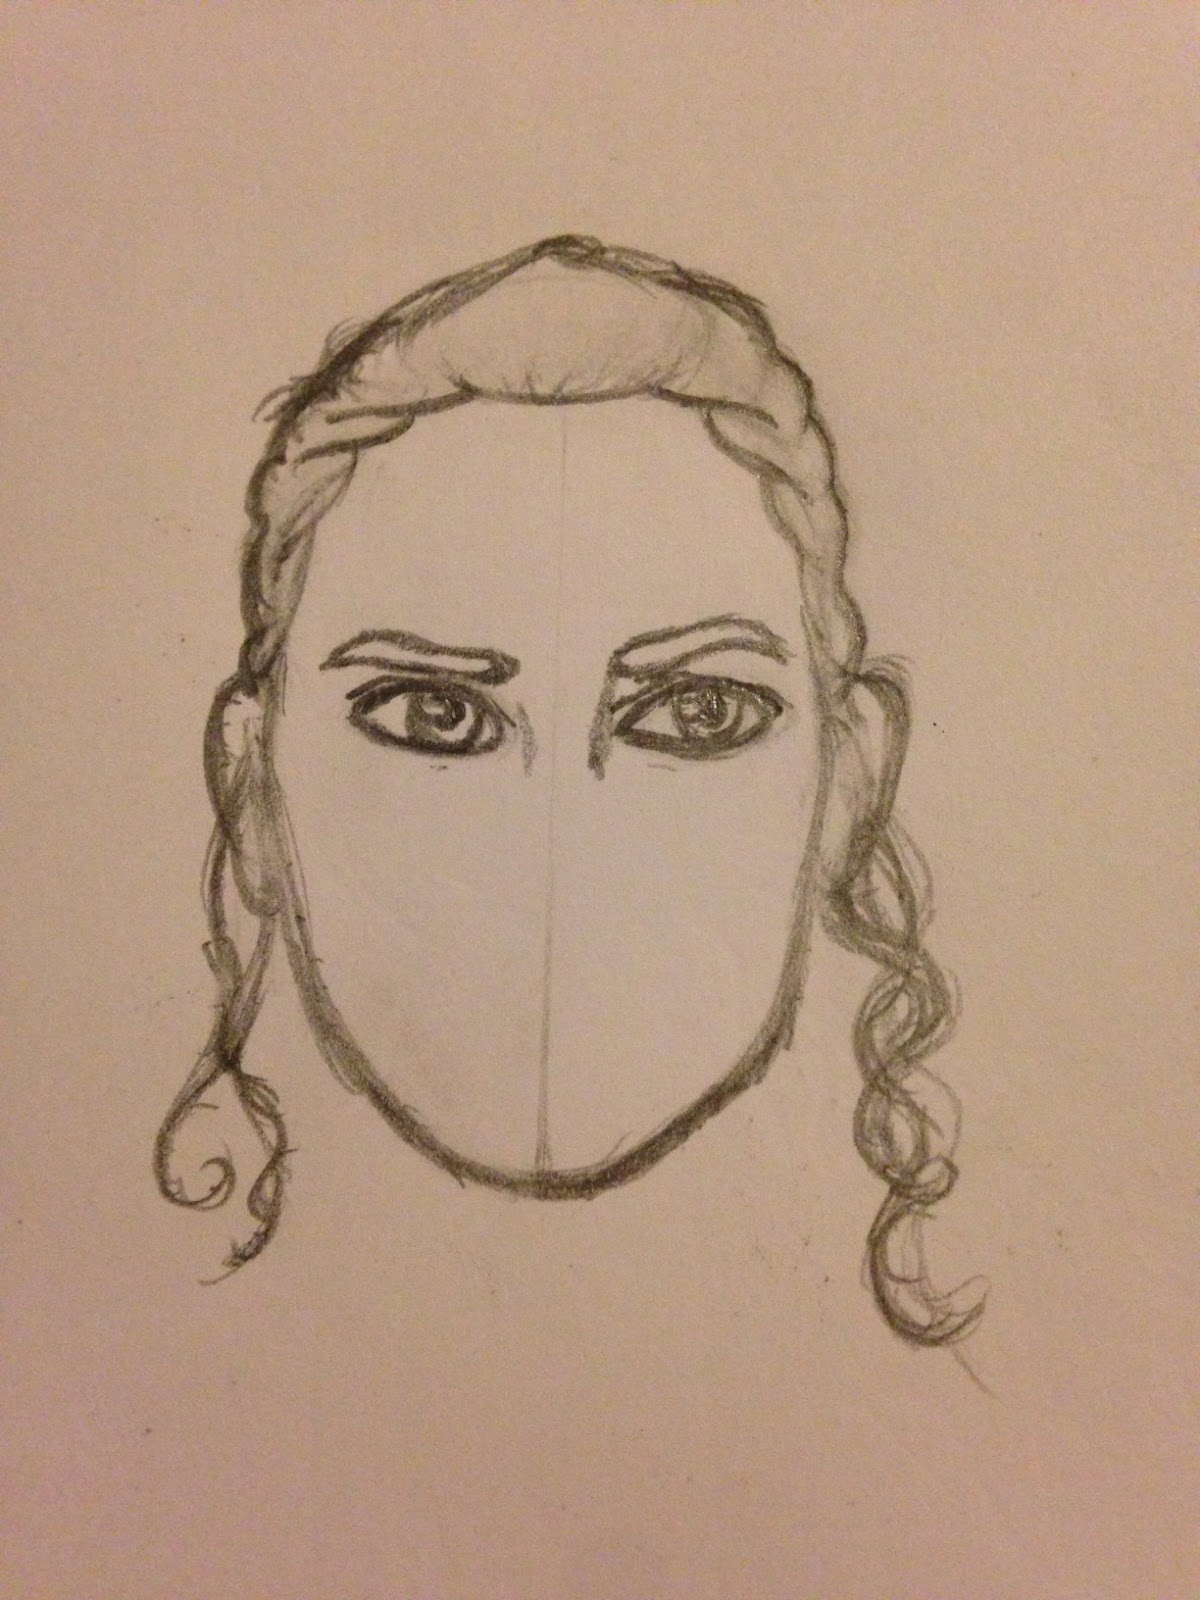
Next I added her hair, which is basically a big bump on her head with all of these little bumps on her temples. (I know things look sort of cock-eyed, but I think my camera was tilted.XD)
For her curls just make little waves.:D I also added ears, the top of the ears should be where the circle ends in her hair.:)
Next I added her eyes after I erased the circle of her head. You may want to make your Rey's left eye be slightly farther to the left.
I added half circles inside her eyes.
Next I drew the shine to her eyes, mini ovals.:)
Continuing with her eyes, I drew the bottom of her eyebrows, making the right one slightly tilted and the other one straight with a small, barely noticeable curve at the end for the arch of her eyebrow, because it's natural even if her eyebrow is scrunched straight.:)
I finished the top of her eyebrows, as you can see.:)
I drew her pupils.
After that, I drew her eye creases and super light tiny squint-y lines under her eyes.:)
Connecting to her eyebrows, I drew the bridge of her nose.
Her nose was really hard for me, but although it may look sort of funny without anything else, it works in the long run.:) You can make her nose by starting with two squashed circles for her nose holes, with only a little bit of space in between. Then you draw the curves of the outside of her nose.:)
Starting her mouth, you draw a line that tilts downwards at both of the ends. Then a thin top lip, and a long "D" shaped bottom lip.:)
This is where I had made a mistake. I had made her chin a little too long, so I erased it, but it ended up being slightly too short. Oh, well.;P
I drew her neck, then her shoulders, adding the bumps of her wrap. I then made her shirt's neckline- a "V" and then that little indent.;)
She also has her collar bones, which are super simple to draw, and her rounded "V" at the bottom of them. I put a short line on her neck to add a touch of her neck tendons.;)
Then I drew the tab on her shirt neck line, finished her wrap, arms and chest.:)
And TA-DA!;) Rey is finished! Oh wait-
Add her little lines in her hair.;)
And then it's all done! I hope you liked the tutorial, although it might not be the best.:)
***
I'm almost done with my Glazed drawing, so that should be ready to be posted soon!:D
-Emma-
Who next do you want to see a tutorial for?:) Poe, Finn, Kylo Ren, BB-8, Han Solo, Leia, Darth Vader, which character from Star Wars do you want?:D